Downloading files from the Web in Google Colab
03 May 2020 | Python Colab ColaboratoryIn previous postings, I outlined how to import local files and datasets from Google Drive in Colab.
Nonetheless, in many cases, we want to download open datasets directly from the Web. In many cases, this will significantly reduce the time and effort. Also, as you will see, it is also space-efficient. While taking advantage of the hyperlinks, we can import virtually any data with few lines of code in colab.
Importing datasets from the Web
Many open datasets exist on the Web in the format of text files or spreadsheets. Using data import functions in the Pandas and NumPy libraries, it is very easy and convenient to import such files, given that you know the hyperlink.
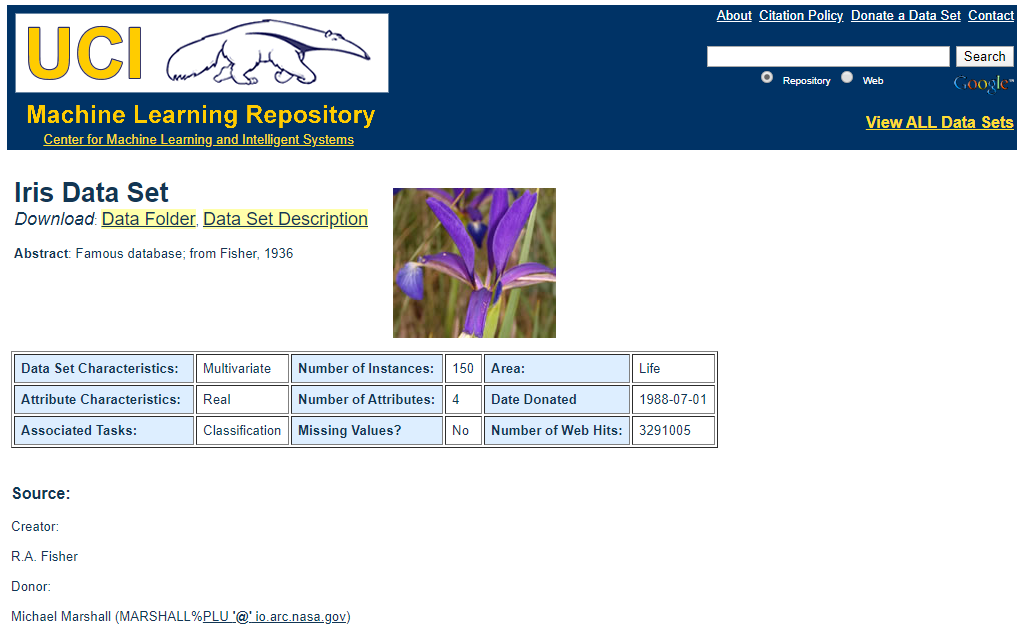
Suppose we want to import the famous Iris dataset from the UCI machine learning data repository.

The data is contained in the iris.data file. We do not need to download the file, just need the link address to the file as mentioned. You can just right click on it and copy the link. The link to the file should look like this: https://archive.ics.uci.edu/ml/machine-learning-databases/iris/iris.data

read_csv() function in Pandas
Since the data is delimited with commas (,), we can just paste the link in the first argument of read_csv() function. It will return a Pandas dataframe containing the content of the file.
df = pd.read_csv("url_to_the_file", header = None)

However, there are a few additional considerations when importing files as a Pandas dataframe in general. Below are a few of such considerations that you need to be aware of and general recommendations on how to take care of potential problems.
File extension
Files that you want to download can be in other file formats or not delimited with commas. In that case, consider using other functions such as pandas.read_table(), pandas.read_excel(), or pandas.read_json().
Delimiter
Another approach in dealing with non-comma-delimited datasets would be simply changing the delimiter. For instance, for tab separated datasets (i.e., TSV files), just set the sep argument to tab (“\t”).
Header (column names)
In some cases, column names are specified at the first row of the file. Then, do not set the header parameter to None as we did. Pandas will automatically infer the column names from the data and set them for the newly created dataframe.
Skipping rows
For some datasets, you would like to skip a few rows since they contain unnecessary information such as general descriptions about the data. In such cases, consider setting the skiprows parameter.
loadtxt() function in NumPy
Alternatively, we can also use np.loadtxt(). This had limited functionality compared to Pandas since we can only download text files, but can be efficient sometimes. np.loadtxt() will automatically convert the data into a NumPy array, which can be instantly used as inputs to many machine learning and deep learning models.
arr = np.loadtxt("url_to_the_file", delimiter = ",")

Again, below are some considerations for importing data with np.loadtxt() and troubleshooting guidelines.
Delimiter
This is the same problem with pd.read_csv(). For np.loadtxt(), manipulate the delimiter argument that has the same functionality as the sep argument in pd.read_csv().
Data types
Unlike Pandas dataframe, NumPy array has to keep all instances having same data types. In many cases where you have only numbers (floats, integers, doubles, …) in your dataset, this is not much of a problem. However, in our case, you can see that I have explicitly set the dtype as np.object to encode both String and Float data. Thus, if you want to manipulate the numerical data in our “object type” array, they have to be converted into numbers. This can be a significant problem for some cases, so please be mindful about data types!
In this posting, we gone through how to import data files to Colab. As mentioned, it is a very simple process given that you have the link to the file. However, some file extensions, such as zip files (.zip), cannot be imported just using functions such as pd.read_csv(). In the next posting, let’s see how we can deal with such files with Ubuntu terminal commands!
